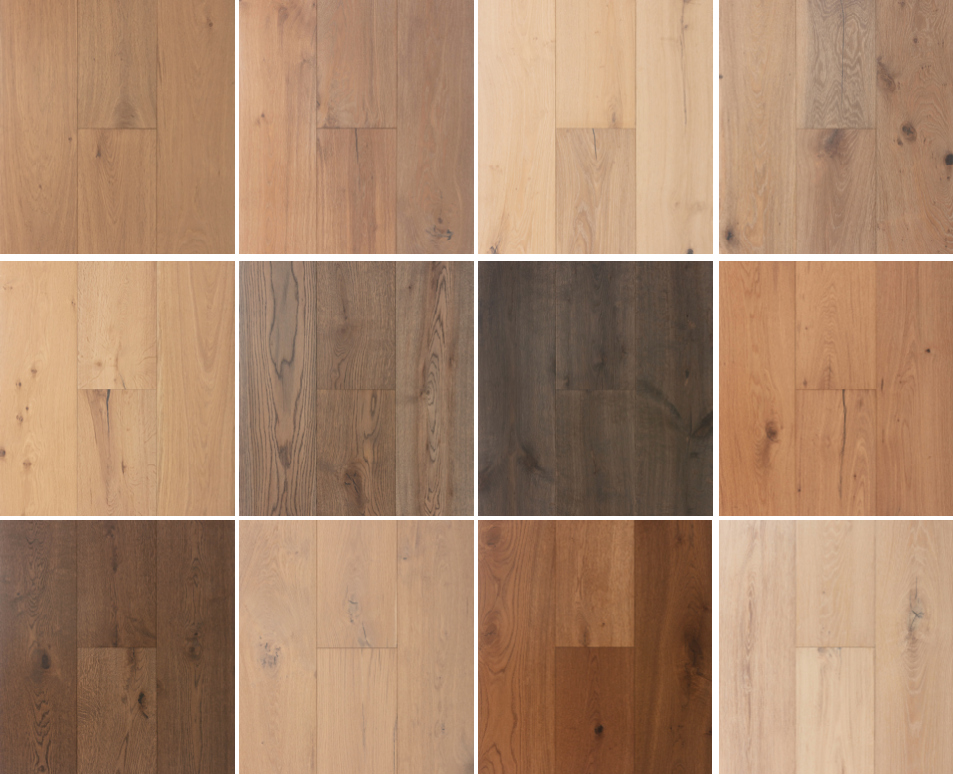
Timber staining is a process of colouring wood to make it last longer and appear newer.
Step by step timber staining:
Do I need to sand the Timber Flooring first?
If you’re working with brand new hardwood such as jarrah or walnut, you’ll need to sand it back first, but if the timber is soft (for example, pine) then using a primer will do. However, pre-coated and pre-loved timber will always require sanding.

Timber staining versus tint
As the name suggests, a tint will give a lighter covering than a stain, but both will bring out the grain in the wood. If you want the stain to be darker still, leave it overnight before wiping off as this allows the colour to seep deeper into the wood.
Oil-based versus water-based
If you’re staining outdoor furniture, use oil every time – it takes longer to dry (which means you get a more even coverage) but it offers a protective coating which you’ll need for the harsh Aussie sun.
Water-based stains maintain colour quality for longer, dry more quickly and can be used over the top of an oil-based coat. These stains work best on indoor furniture.
Limewash versus clear stain
Limewash is perfect for that shabby-chic look. It brings out the grain of the wood and provides a lovely softened look to light-coloured timber; it doesn’t really work on darker hardwoods though. For those you’ll want a clear stain or timber oil. These work to bring out the grain as well and can also be used on softwoods such as cedar or cypress.
Applying the stain
Once the area is prepared, you’re ready to start. In short strokes, apply the stain or oil until the entire piece (or floor) is covered.
Leave the stain to penetrate the wood according to product instructions (brands may differ). Once the coat is dry, wipe thoroughly with a clean, dry cloth. You may want to add a second coat, but if not, then simply finish with a clear top coat or varnish and allow to dry for a minimum of 12 hours.
If you need our help for timber staining get in touch with us.

